Showing posts with label Entrance Door. Show all posts

Thursday, October 25, 2012

Exterior Updates

I finally had decent enough weather to drag the trailer out and take the updated pictures.

You will see from the pictures that I have some more work to do. I need to get new propane tanks and hook that system up. Need to make and mount new wings. Also need to do the final wiring for the exterior lights.

Ultimately, I am happy with the overall look of the exterior. The new paint looks pretty decent but a bit flat in spots. I will probably buff or wax the whole thing at some point. New decals look pretty good too.

No more rambling talk. More pictures. We will go with the old standby of before and afters...


Curbside window...

AC unit removed and replaced with a Airflyte window...

Bathroom Closet window...

Kitchen window...

Street side dinette window...

Front window. I added the decal above the window. The trailer didn't originally have one but I like how it looks so I went with it...

Entrance door. Biggest change is removing the hasp and added the deadbolt...

Interior of the entrance door and screen door...

Replaced that crusty latch with a new one...

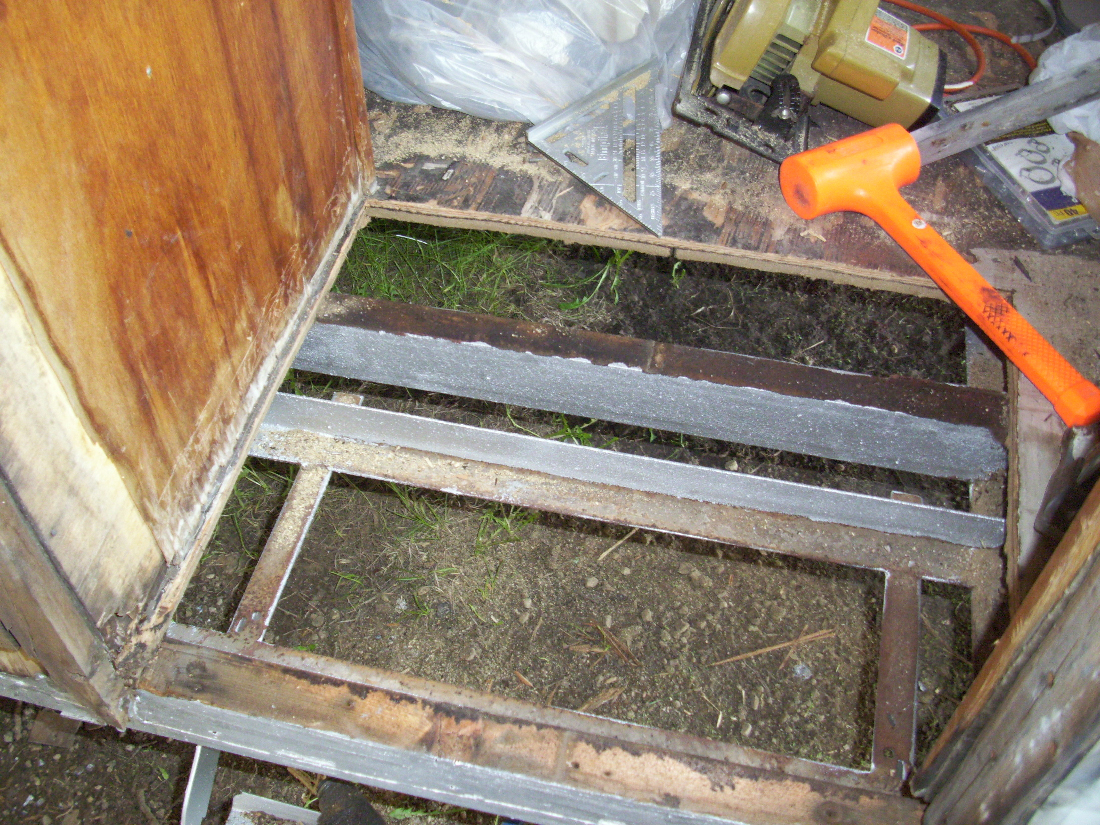
Repainted step. I used skateboard grip tape that I had left over from another project. Cut it into Mid Century style stars to make it a bit more interesting to look at.

Taillights with new lenses from VTS.

Bargman Trail Light with new lens from VTS. Also has a new plate holder...

New marker lights...

Metal badge...

Reproduction green factory badge that I pushed VTS to produce...

Repainted MHMA badge...

Water fill...

I'm not sure I am digging the Mercury caps I found. They are ok. They don't fit all that well because they are well used. I'm still looking for another set that won't cost a fortune.


I think that is about it for now. I'm not sure if there will be much more progress before the crappy weather comes and stops progress all together...but stay tuned.


Thursday, September 27, 2012

Small Update...

Here is a bit of an update. Not a great one but still progress on this impossibly long journey. The attention turned to the outside.

Skins were re installed. Sanded and cleaned to remove oxidation.


The red you see is spot putty to fill dents and creases.

I then installed the door trim....

I also made patch panels to fix the cracked skin caused by the sagging door. There were probably other ways to solve this problem but this is my solution...


Because we are using a Airflyte rear window instead of 16 SC rear window the dimensions were different. The new window is wider and a bit shorter in height. Cutting the aluminum for the width was very easy however the shorter height left a bit of a gap in aluminum skin. I made a patch panel to take up the gap. I didn't really want to cut it straight. It seemed too boring. I made it angle down to mimic the "V" in skin. The oval will hold the dealership badge.
All of this looks a bit weird now but will look more blended once painted.

I also wetsanded the "Z" stripe to prepare for polishing. Before...
After...
Taped and polished...
And done...

I cleaned the trailer again and again. Taped off the windows, doors, and "Z" stripe. Sprayed the whole thing with self etching primer...


And that is about it for now. I will have to take some more pictures soon as I have made much more progress.

On a side note...we have been collecting items for the trailer also. Items that will fit with our love for vintage. We see it for very cheap. We buy it. Sometimes we have gone a bit overboard so that we will have enough and can pick through and choose the stuff we want and pass on the extra. Here is our vintage melamine dish collection all laid out to sort through...
This haul netted a few complete sets with some extra serving bowls and platters. Maybe I will show some of the place settings at some point.

This is kind of a lame post but as I said. I will take some more pics to bring us up to speed with the restoration. Stay tuned.


Wednesday, June 1, 2011

A Bit More Progress...

It has been awhile since my last post but I have been working a few hours here and there. Here is what has happened since my last post...

The door got put back together and sealed. Here I had taped off the "Z" stripe for polish...

I used the felt buff chucked in my drill and some brown compound to give it a good shine..

I then taped off the stripe and primed the door...
It is now set aside waiting for paint.

I removed the section of the floor where the leaky door had started to rot and delaminate the floor...

Let me apologize for the crummy pictures. I swear this camera is getting worse and worse. Here is the new section of floor installed...

You might have noticed that the closet panel was also removed. I didn't want to take this out but it is just too far gone..

I have been hunting for rot and trying to find it and remove it. Here is some more rot that must have come from a leaky black water tank vent cap...

I have also been tackling replacing the framing. I removed all of the rotted framing and tried to make the new framing more substantial. Here is the curbside done up to the door...

A before and after of the baggage door framing...

Again, sorry about these crappy pictures. Here is the curbside wheel well framing...

Here is the street side framing done all the way up to the front...

Once I was done with each side framing I went to the back to finish that up. I had bought a Hehr Standard window for the rear window which was gone. I had never really fit the window in the hole to because we had the rear window sealed up with plastic since we bought the trailer. It had always been in the back of my mind. Really because I wanted to see if the PO had altered the opening to fit the AC unit in the window opening. I didn't think that the actual replacement window wouldn't fit. Talk about a oh $#!@ moment. I study a lot about Shastas but even I didn't know (or even think) about the fact that an Airflyte would have a larger window than a 16 SC. Luckily, I discovered this at this point in the work. I just needed to make the opening larger to accommodate the bigger window. I removed all of the rear cross members to start fresh...

I redid all of the rear framing which was going to get redone anyway...

Going back to a few previously discussed items...

Here is a horrible shot of the grinding, priming and painting I did on the entire frame...
 I also did the wheel wells which probably benefited more from this. They are on the verge of rusting away. I think the rust removal and paint will keep them serviceable for a while. All of this sort of thing is really easier when you do a complete frame off but that wasn't in the cards this go around. I had to make due with the options I have. It was a lot of work to spend that much time under the trailer but I feel better knowing I have done what I can to make sure it isn't rusting away.

I also got the new tires mounted on the rims...
Again. These will probably end up another color but I can do that later. I am still hunting for a good buy on vintage 15" caps. I have really been eyeing up early 50's Oldsmobile caps. I like the design they had. Then again I keep seeing other caps on ebay that I like also. Maybe at some point I can have more than one set of caps and could change them out to suit whatever mood we are in.

I am sure I will have more updates soon. Stay tuned...